Did You Know Your Camera Can Do This?
I keep seeing commercials about the latest and greatest point and shoot camera or the on going competition between cell phone companies about who has the best built in camera. These commercials crack me up because they’re advertising “MORE MEGAPIXELS THAN EVER!” and promising better low light performance. It’s not that I don’t think these cameras are any good, granted I wouldn’t shoot a wedding with one, but what many don’t realize is that taking good photos doesn’t require you to have the most megapixels or the most expensive camera on the market. In fact, the camera you have right now probably does a LOT more than you realize.
You may have to spend a little time looking through your particular camera’s settings, but these little tricks will be worth the effort. The best part? Even many cell phone cameras will let you adjust these settings. (My iPhone friends are telling me they don’t have these settings, but I know for sure that a lot of android phones do!) For reference, I’m using my Samsung Galaxy S3.
1. Adjusting The White Balance
Different light sources cause different color casts on our images. For instance, an incandescent light might cause your white shirt to look yellow or orange in a photo, whereas a florescent light might cast a blue color on the same shirt. White balance is a camera setting that helps correct these pesky color casts so that your whites are truly white. This is one of those settings you can leave set to auto for most cases and adjust as needed. When you’re taking a photo and the colors don’t look quite true to life, open up your camera settings and click through the different white balance settings to see which one works best for your photo. Just don’t forget to change it next time you’re in different lighting!
For a more in depth explaination of white balance and how you can use it to your advantage visit: http://digital-photography-school.com/introduction-to-white-balance 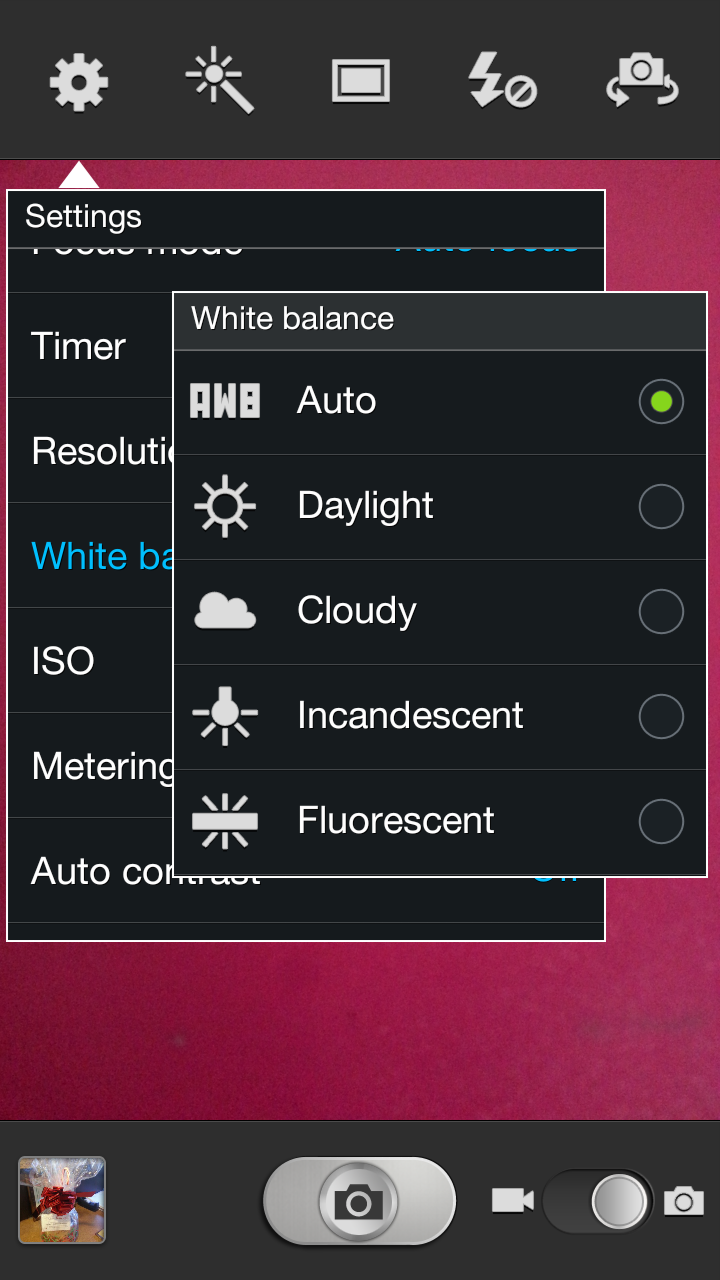
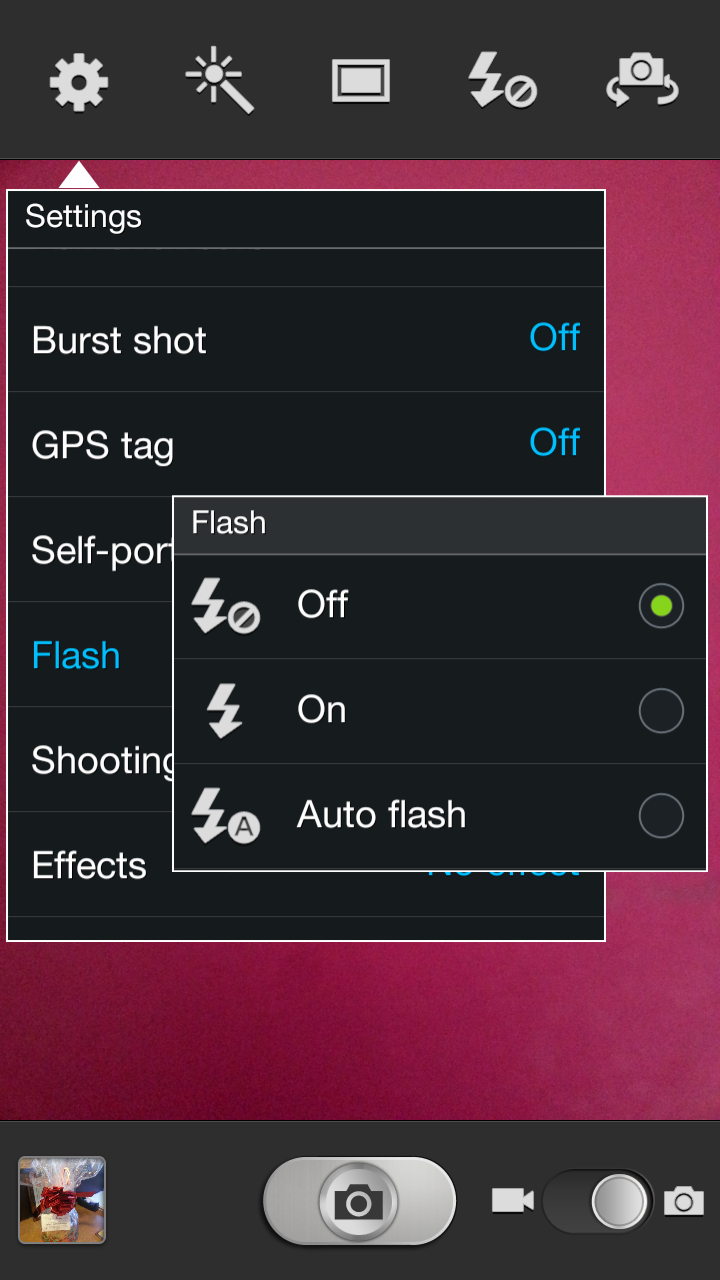
2. Turning off the Flash
A lot of point and shoot cameras are set on auto flash. This can be helpful if you take a lot of photos in the dark, but sometimes your camera will misjudge what you’re trying to get a picture of and flash when it doesn’t need to. This automatic setting can drastically change the way your photo looks. The best option is to turn that flash off entirely and see if the natural light will suffice. Turning this setting off often results in much more flattering photos as it doesn’t cause such harsh shadows or crazy red eye! This also takes us into our next tip: ISO
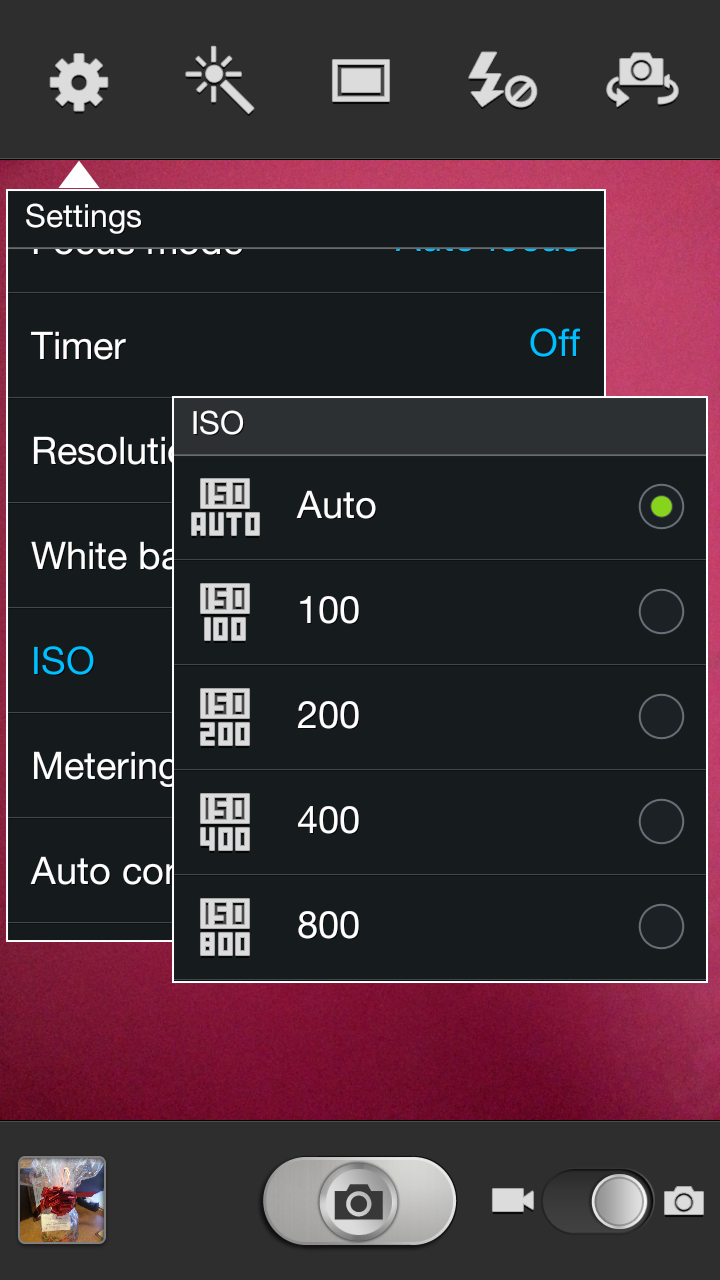
3. Adjusting your ISO
This is another one of those settings that I leave set to auto most of the time and then adjust when necessary. Inside of your camera is a tiny sensor, think of it as digital film. Your ISO affects how sensitive that sensor is to light. In very bright light (like midday) you don’t need it to be very sensitive because there is a lot of available light. But when it’s dark, the more sensitive your sensor is to light, the brighter your photo will be. In low light situations, where you don’t want to use flash, try adjusting your ISO to a higher setting to brighten up your photo a little.
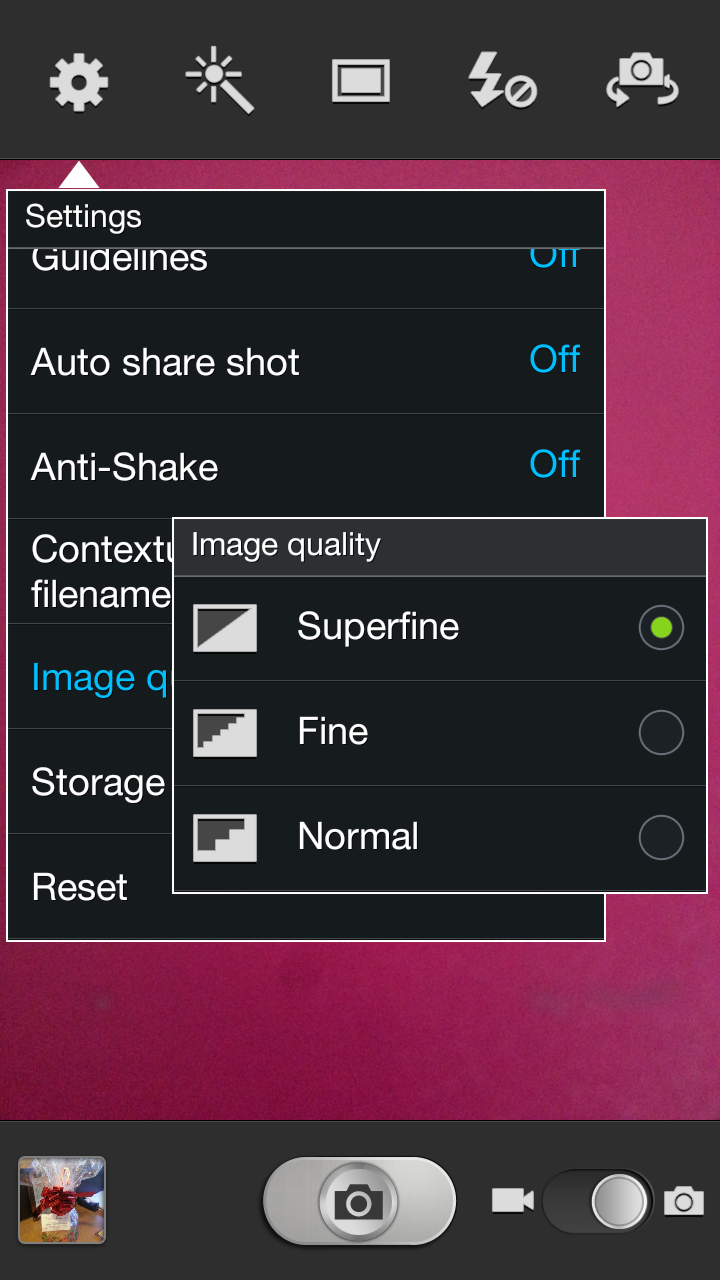
4. Image Quality
Different cameras have different options for this, but many times by adjusting the image quality, you can drastically improve, well – your image quality. On my Samsung Galaxy S3 it gives me three options. Pull up your settings and see what option works best for you!
Hope you enjoyed these four tips! Feel free to share your favorite hidden camera setting in the comments!
Thank you for this!! Totally helps! Not a huge fan of my camera on my S4 Active but I’ve been just screwing around with the settings whenever I want to take a decent picture. Now I know!! 🙂
Welcome! =)